
The article
An outdoor wedding runs on one clock: the sun’s. Whatever else the timeline says, the light changes on its own schedule, guests move indoors when it gets cold, and none of it pauses for a late toast.
A lighting plan built around that clock, instead of around the printed itinerary, is what keeps the evening looking the way it did in daylight photos.
This guide covers the pieces of that plan: the four types of lighting most outdoor events use, how timing and power actually work, what a rain-or-wind plan looks like, and how setup and teardown fit into a venue’s schedule.
For the two most common early questions — whether to rent gear yourself or hire an install, and whether to use string lighting or uplighting — see the linked breakdowns below.
Work backward from sunset, not forward from the ceremony start
Set the ceremony time first, then check what the sky is actually doing at that hour for the season, not what it did last time you were at an evening event.
A 6 p.m. start in early fall can end in full daylight; the same start time in late October finishes in the dark. The lighting plan follows from that check, not the other way around.
In practice this means committing to a moment when lights go live — usually 20 to 30 minutes before dusk — and treating it as a fixed cue, the same as the processional. Nobody should be flipping a switch because a guest complained they couldn’t see the buffet.
Bistro and string lighting for the main gathering space
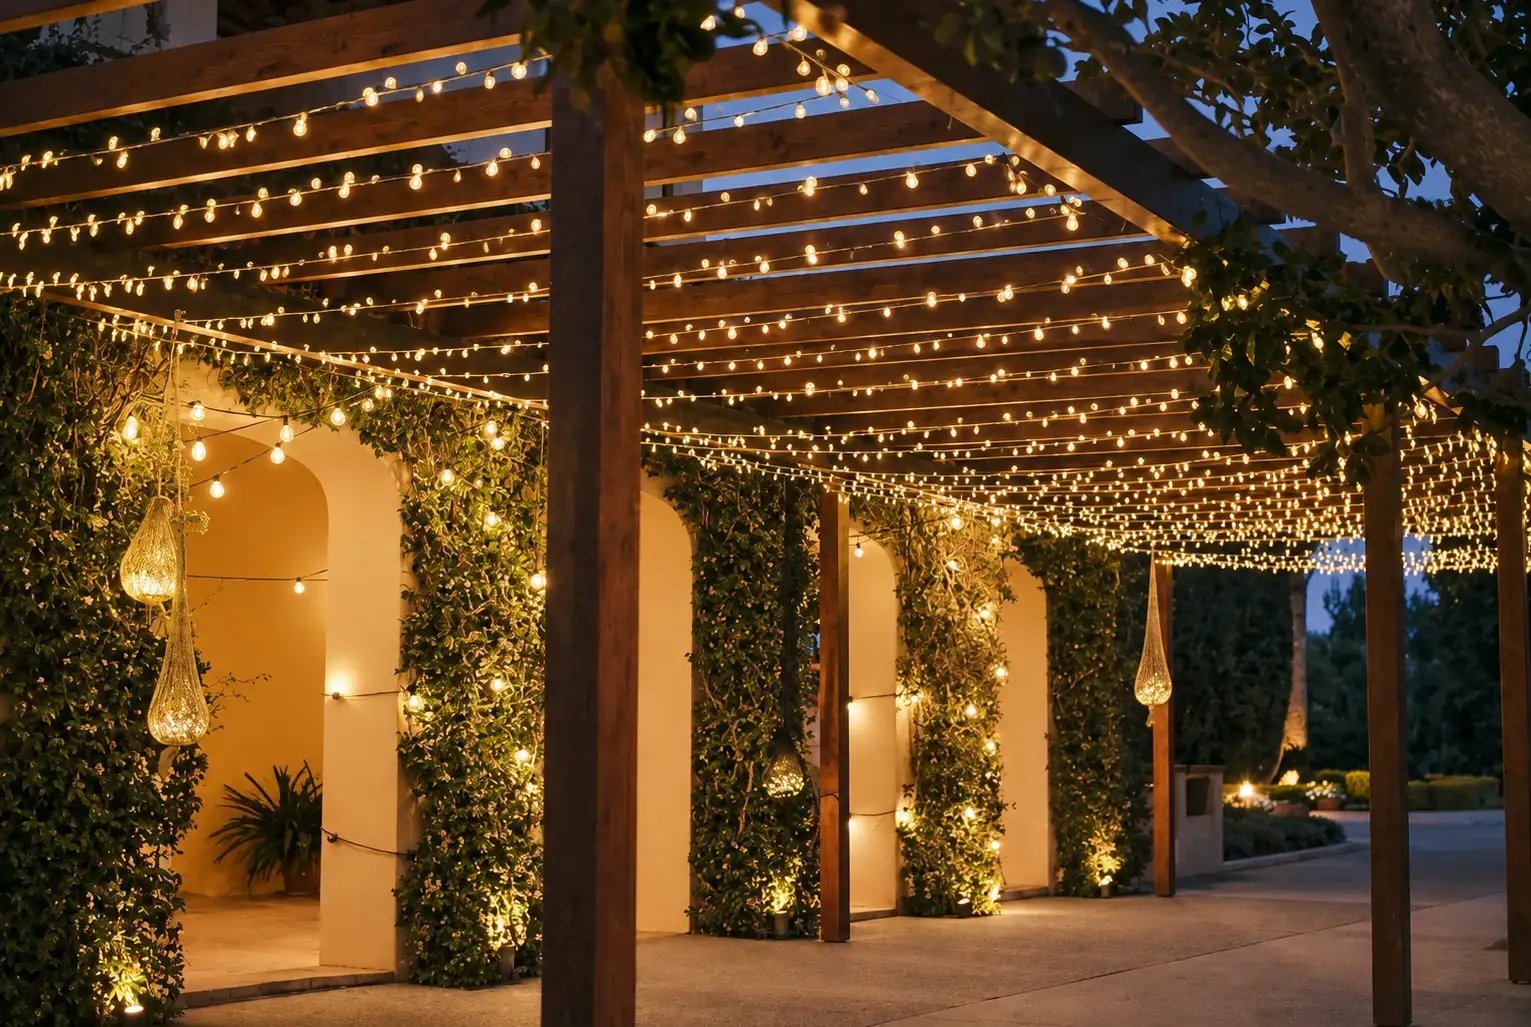
Overhead string or bistro lighting is the look most people picture first: warm bulbs strung in a grid or catenary curve over a courtyard, lawn, patio or tent interior.
It reads as “wedding lighting” more than any other fixture, and it does the most work for the least visual clutter, because one overhead layer lights an entire gathering area evenly.
The thing that makes or breaks it is the anchor points. String lighting needs something solid to hang from at both ends and, on a wide span, in the middle — trees, poles, a building face or a rigged truss.
A venue that looks perfect for string lights in daylight can turn out to have nothing sturdy enough to hang from without a site visit to check.
Uplighting for walls, columns and rock
Uplighting is a fixture placed low and aimed up, washing color or warm light onto a vertical surface: a stone or stucco wall, columns, tree trunks, a rock face. Where string lighting fills a whole space evenly, uplighting adds depth and a focal point — it’s what turns a flat courtyard wall into a backdrop.
Uplighting is also the easiest layer to color-match to a wedding palette, since most fixtures are color-selectable, while string lighting is almost always left as warm white because that’s the tone that photographs well on skin.
For a closer look at when each one is the right call, see our string lights vs. uplighting comparison.
Ceiling and canopy looks inside a tent or hall
Inside a tent, barn or hall, the ceiling itself becomes a lighting surface. String lights run in a canopy pattern, drapes lit from behind, or a mix of both can turn a plain tent ceiling into the room’s main visual feature — useful when a venue’s interior doesn’t have much architecture to work with on its own.
This layer depends on the structure overhead: a tent’s own rigging points, or a hall’s existing trusses and beams, decide what’s possible before any lights go up.
Feature lighting for the ceremony itself
Beyond the general layers above, a handful of specific moments usually get their own dedicated light: the arbor or altar where the ceremony happens, the head table, the cake, and the dance floor.
These fixtures tend to be smaller and more targeted than the overhead or wall washes — a single spot on an arbor, a warm wash across a head table — and they’re often the last thing added to a plan because they’re easy to treat as an afterthought. They shouldn’t be: these are the spots where the most photos get taken, and they’re also where a missing light is most visible in those photos.
Path and safety lighting guests actually need
This is the layer that gets skipped most often, and it’s the one that matters most once the sun is down. Any stretch guests have to walk in the dark — from parking to a ceremony site, from an outdoor space to an indoor one, around a pool or a drop-off — needs enough light to see footing, not just enough to look nice in a photo.
Low path lights, lit stair edges and lit doorway thresholds cover this without competing with the more decorative layers.
Power: where it comes from and what it needs
Every layer above needs power somewhere, and outdoor sites rarely have outlets where the lighting plan wants them. A site visit checks what the venue actually has, where it is, and whether the total load fits it — string lighting, uplighting and any sound or catering equipment often draw from the same circuits.
Where the venue’s power isn’t enough, the plan needs a backup source worked out well before the day, not discovered at load-in.
Building in a rain and wind plan
Outdoor-rated fixtures and cable are built to handle weather, but the honest planning question isn’t whether the gear survives rain or wind — it’s what happens to the schedule if it does. A rain-or-wind plan names a specific person who makes the call, a specific point in the timeline when that call gets made, and a fallback location or covering if the ceremony or reception has to move under cover.
Fixtures that were going to run outside all evening may need to shift under a tent or awning instead, so those spaces should be lit as part of the original plan, not added at the last minute.
Setup and teardown: what actually happens on the day
Most venues give a lighting install a specific window, and the plan has to fit inside it. A typical sequence: a site visit weeks ahead to confirm anchor points, power and the venue’s own rules; a written plan showing what goes where; load-in on the venue’s assigned window, usually the day before or the morning of; a full check before guests arrive, with spares of anything that could fail; and strike afterward, either that night or the next morning depending on what the venue requires.
Whoever installs the lighting should already know this sequence before the day arrives — it shouldn’t be worked out on-site.
What to bring to a first conversation with a lighting company
Whether you’re getting quotes or just scoping the budget, a first call goes faster with a few things decided already: the date and the venue, roughly how many guests, whether the event is fully outdoors or split between outdoor and tented or indoor space, and what time the ceremony actually starts.
A venue that’s new to the company you’re talking to isn’t a problem — that’s what the site visit is for — but knowing those basics up front means the first conversation can focus on what the space needs instead of gathering facts that could have been sent ahead of time.
DIY rental vs. a hired install
Some couples rent lighting and set it up themselves; others hire it out entirely. Both are legitimate choices, and the right one depends less on the gear and more on your own time, the site’s complexity and how much you want to be doing on the day itself instead of watching your own wedding.
Our full rent-or-hire comparison walks through the honest tradeoffs without a sales pitch either way.
Finding a crew that fits your venue
If you’d rather hire the work out, look for a crew that treats the site visit as non-negotiable and builds the schedule around the venue’s own rules rather than its own convenience. We cover our approach to wedding and event lighting, including how we schedule the day, on our wedding and event lighting page.
We also install lighting for events in St. George and in Lehi, and the venue and planner questions above apply the same way in either place.
Written by Michael Preston, Glow Forward Holiday Lighting. More from the blog