
The article
A yard in Southern Utah earns its keep after dark. For roughly half the year the middle of the afternoon is too hot to sit outside, and the two or three hours after sunset are when a patio, a pool deck or a gazebo actually gets used. None of that works if the yard goes dark the moment the sky does.
This guide is about planning outdoor lighting as one system, not a pile of separate fixture purchases.
It covers where to put light, how to avoid the two most common mistakes (glare and mismatched color), and the basics of how a low-voltage system runs so you know what you’re asking for when you talk to an installer or read our landscape, pool and gazebo lighting page.
Start with the safety layer: paths, steps and driveways
Before anything decorative, light the parts of the yard where a level change can trip someone. That means path lights along a walkway, a light at the top and bottom of any steps, and enough light along a driveway that a car doesn’t clip a curb pulling in.
This layer isn’t about drama. Low, downward-facing fixtures spaced to overlap their pools of light are enough; you’re lighting the ground, not the sky.
Get this layer right first. It’s the one every guest and every delivery driver interacts with, and it’s the cheapest fixture-for-fixture layer to install because the fixtures are small and simple.
Add the accent layer: uplighting trees and walls
Once the ground is covered, the next layer is uplighting: a fixture staked at the base of a tree, a rock outcropping or a wall, aimed up into it.
This is usually the single highest-impact addition in a yard that already has mature landscaping or architectural stucco and stone, because it turns a shape you only half-notice in daylight into the visual anchor of the whole yard at night.
A well-placed uplight does one job. Aim it into the canopy or the texture of the wall, not out at eye level where it will blind anyone walking past. One or two well-aimed fixtures on a mature tree usually beats five scattered ones.
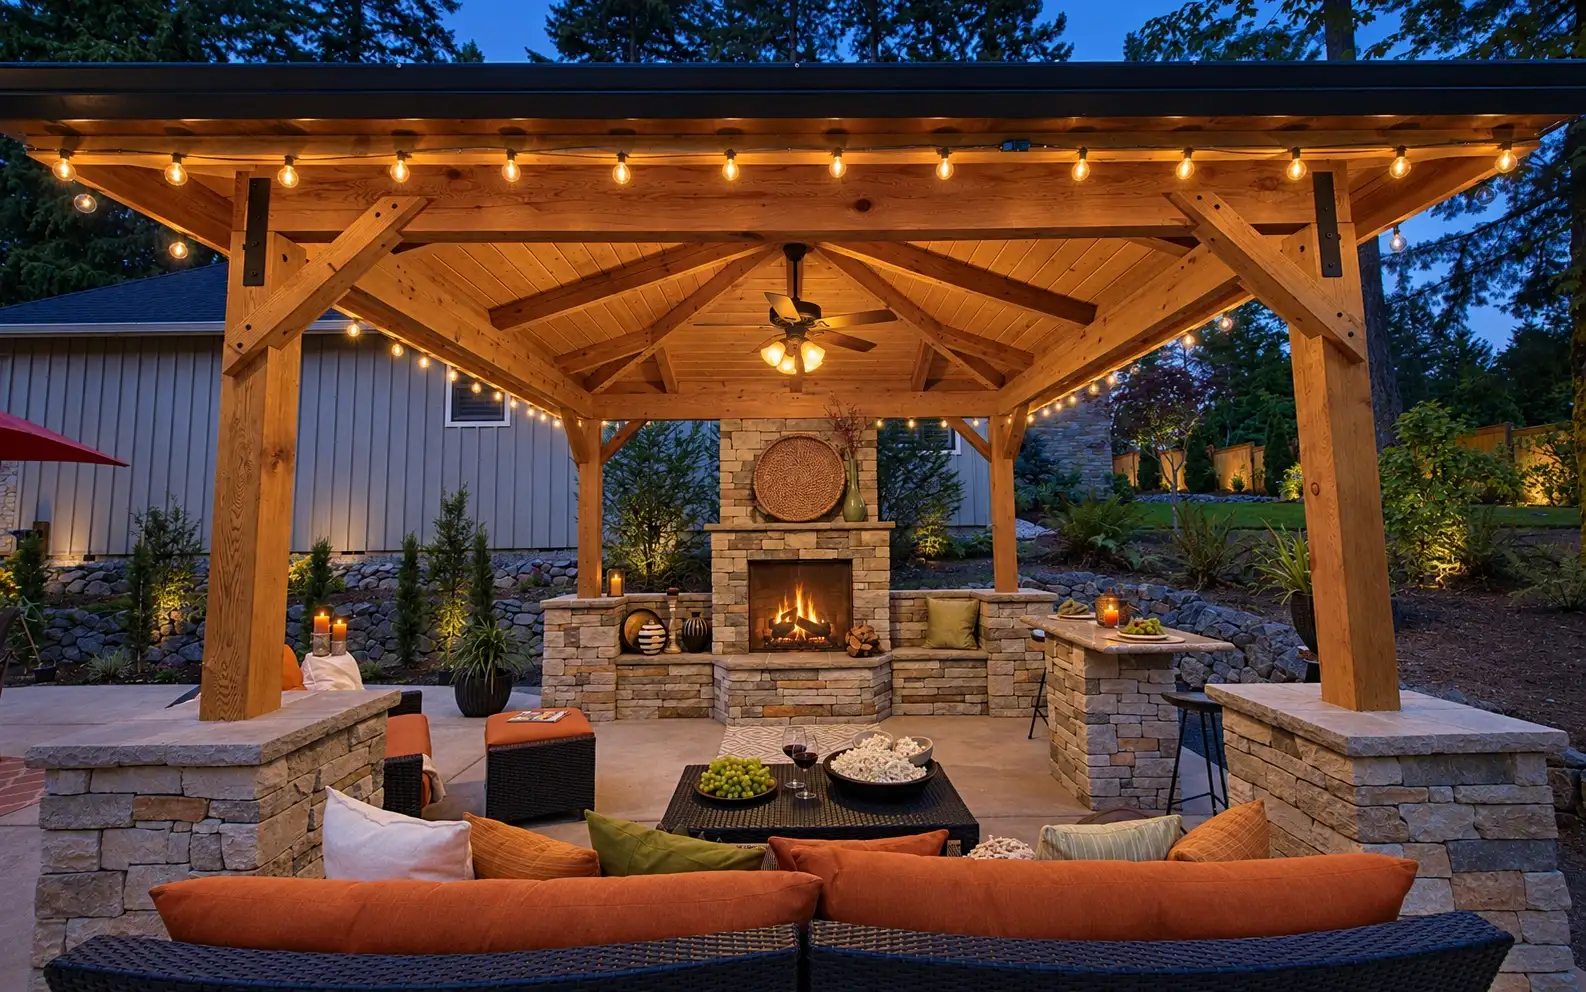
Patio and pergola string lighting
Overhead string lighting is what makes a patio, pergola or covered porch feel like an outdoor room instead of a slab with furniture on it. It’s also the layer most people install themselves and then wish they’d planned better, because spacing, sag and where the power comes from all matter more than they look like they would from the box.
We cover layout patterns, spacing and power in a dedicated post: gazebo and pergola string lights.
Lighting around the pool
A pool deck at night has two problems a regular patio doesn’t: wet, slick surfaces near a level change into the water, and a flat, reflective surface that throws glare straight back at anyone standing near it if a fixture is aimed wrong.
Both are solvable with the right fixture placement, and we go into the specifics in lighting a pool area at night.
Gazebos and covered structures
A gazebo benefits from two kinds of light working together: overhead string or downlighting for ambience, and a lower light at any steps or bench seating so people can see where they’re sitting.
Because a gazebo is usually the farthest fixture run from the house, it’s also where planning the power source in advance saves you from an awkward retrofit later.
Think in layers, not fixtures
The mistake most DIY yards make is buying fixtures one at a time and placing them wherever looks good in the store display. A yard that reads well at night almost always has three distinct layers doing three different jobs: a low path-and-step layer for safety, a mid-height accent layer on trees, walls and structures, and an overhead ambience layer on patios, pergolas and gazebos.
None of the three layers should be doing the other’s job. Path lights that are too bright wash out everything else; accent lights aimed too low create glare instead of drama.
Control glare before it becomes a problem
Glare is the single most common complaint about a DIY landscape lighting job, and it’s almost always a fixture aimed at eye level instead of down or into a surface. The fix is aiming, and sometimes a shield or lens on the fixture itself, not a smaller bulb.
This matters most in three places: uplights near a walkway where people pass close by, any fixture near the pool where the water can throw a reflection back, and string lighting hung low enough that a bulb sits at head height.
Pick one white, and use it everywhere
Warm white, generally in the 2,700 to 3,000 Kelvin range, is the standard for landscape and architectural lighting. It reads as natural evening light, and it matches the warm tone of most stucco, stone and wood siding in this region.
Cooler white light (4,000 Kelvin and up) can look sharp on a modern build, but mixing warm and cool fixtures in the same yard is the fastest way to make an otherwise good design look unfinished. Choose one color temperature for the whole property before you buy a single fixture.
Timers, photocells and running it without thinking about it
The point of a permanent system is that you stop thinking about it. A photocell turns the system on at dusk automatically; a timer (often paired with the photocell) turns it off at a set hour so the yard isn’t lit at 3 a.m. for no reason.
Most installs use both together: dusk-on from the photocell, a fixed shutoff time from the timer, adjustable by season since dusk moves through the year.
Common layout mistakes worth avoiding
A few mistakes show up over and over in DIY yard lighting plans, and all of them are easy to fix before you buy fixtures rather than after.
Too many fixtures doing the same job is the most common one: a yard with six uplights on six different shrubs but nothing lighting the path between them looks scattered instead of designed.
It’s better to pick fewer focal points and light them well than to spread the same budget thin across everything green in the yard.
Skipping the walk-through is the second. A layout that looks right on paper or from a daytime photo often misses where a fixture will actually sit at eye level once it’s staked in the ground, or where a neighbor’s porch light already washes out a corner of the yard.
Walking the property after dark, even with a flashlight standing in for each planned fixture, catches problems a sketch never will.
The third is treating the string lighting layer and the ground layer as unrelated projects bought at different times. A patio with warm path lights and cool-white string lighting overhead looks unfinished even if each layer is well executed on its own.
Plan the whole system, including the pool area and any gazebo or pergola, as one project with one color temperature, even if it gets installed in phases.
Low-voltage basics, in plain terms
Landscape lighting runs on a low-voltage system: a transformer, usually mounted near an existing exterior outlet, steps household power down to a safer voltage for the buried or surface-run cable that feeds each fixture.
That’s what makes it practical to run cable through a flower bed or under a walkway without the same precautions a full household circuit would need. It also means a system sized with a little headroom on the transformer can take an added zone or two later without replacing the whole supply.
Built for a desert yard
Whatever fixture you land on, this climate is hard on cheap gear in a specific way: intense summer sun, long stretches of heat, and hard water at any point the system touches irrigation overspray.
Sealed housings, UV-stable lenses and properly rated cable and connections are the difference between a system that still looks right in five years and one you’re replacing fixture by fixture. It’s worth asking any installer what’s actually sealed and what isn’t before you commit to a design.
Where this fits with holiday lighting
Landscape lighting and holiday lighting are two different systems that happen to share a yard. If you’re also considering a color-changing roofline install for the holidays, our permanent holiday lighting guide covers how that system works and how the two run independently, on their own schedules, without interfering with each other.
Getting from plan to install
You can plan every layer above from a walk around your own property after dark, which is the same first step a professional design visit uses; a daytime walkthrough tells you almost nothing about how a lighting plan will actually look.
Once you know roughly where you want path lights, uplights, string lighting and pool-area fixtures, the next step is a design and a quote sized to your yard, covered on our landscape, pool and gazebo lighting page.
Written by Michael Preston, Glow Forward Holiday Lighting. More from the blog